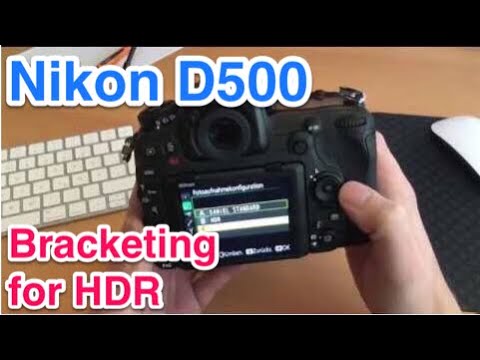
Set up Nikon D500 for bracketed exposure series for HDR

In this video I’ll show you how to set up the Nikon D500 to create an exposure bracket for HDR shots. We store all HDR-specific settings in a separate user setting under the photo and individual settings, so that we can quickly switch between normal workflow and HDR workflow.
Nikon D500 kaufen -> http://amzn.to/2zYOcVR (Amazon Affiliate-Link)
Here is the video showing the correct settings:
Ihre Daten werden erst beim Abspielen des Youtube-Videos an den Dienst übermittelt. Your data will only be transmitted to the service when you play the Youtube video.
And here again the menu settings in text form:
Selecting the correct operating mode
First of all we make sure that we operate the camera in mode “A“.
Photo Shooting -> Create new photo shooting menu bank for HDR
Photo Shooting Settings
- Change Storage folder name to HDRD5 for example – (so we have our own directory for HDR photos)
- Change file naming to HDR for example – (so we can distinguish HDR-photos already at the filename from “regular” photos)
- Picture Quality RAW
- Imagesize L
- NEF RAW, lossless compression with 14-bit
- ISO-Auto OFF, start at 100
- White balance Cloudy
- Active D-Lighting OFF
- Noise Reduction with Long Time Exposure OFF
- Vignetting Correction OFF
- Auto distortion control OFF
- flicker reduction OFF
- Auto bracketing set AE
Custom settings -> Create new custom settings bank for HDR
Custom configuration settings
- C – Timers/AE lock -> C3 Self-timer -> Self-timer delay 2
- C – Timers/AE lock -> C3 Self-timer -> Number of shots = 5
- Interval between shots 0.5 seconds
Enable exposure bracketing before shooting
Hold down the BKT button and use the rear dial to set 5F for exposure bracketing with 5 levels. 1.0 select for whole step size.
Switch to self-timer, and take pictures. Now 5 shots are taken automatically within the configured exposure bracket with a lead time of 2 seconds.
After the end of the HDR shooting
- Photo capture configuration back to standard configuration
- Individual configuration back to standard configuration
- Hold down the BKT button and use the rear mode dial to set 0F for deactivated bracketing.
How to develop the HDR photo / Which Software to use
As a software for HDR merging I use Aurora HDR 2019.
You can get yourself a free trial by clicking this link: https://skylum.grsm.io/ENAuroraYT
My first choice as a Lightroom alternative
I’m gonna do some advertising. I’ve been dealing with all kinds of image editing software for months, comparing a lot, testing a lot and finally choosing RAW developer and Lightroom alternative Luminar 3.
Have a look and try the free trial version. Just click on the banner:

All the links in this text are Amazon Affiliate Links, and by clicking on an affiliate link I will earn a percentage of your subsequent Amazon purchases. However, this circumstance does not influence the background of my product recommendation. This product recommendation is independent, honest and sincere.
Bei allen genannten Links in der Videobeschreibung handelt es sich um Amazon-Affiliate-Links.Durch einen Klick auf einen Affiliate-Link werde ich prozentual an Euren darauf folgenden Amazon-Einkäufen beteiligt. Dieser Umstand beeinflusst aber nicht die Hintergründe meiner Produktempfehlung. Diese Produktempfehlung erfolgt unabhängig, ehrlich und aufrichtig.