
Best practise settings for cinema-quality video material with FIMI X8 SE for Cinematic Video
the Fimi X8 SE is capable of producing stunning 4K video footage. With the right settings, we are able to make the most of the drone’s potential.
Gimbal settings
Before we get into the video-only settings of our Fimi X8 SE (Amazon Affiliate Link), we should familiarize ourselves with the gimbal settings. These settings affect how fast the gimbal pans and how abruptly the gimbal stops after a movement. Both are properties that inevitably influence the fluidity of our video recordings.
- In the settings menu of the drone we go to the menu submenu of the gimbal and then to the advanced settings.
- Max. Gimbal pitch speed = 3 This setting determines the maximum speed of the gimbal. This low setting ensures smooth gimbal movement even when the wheel is at maximum pitch. With higher values the camera with the wheel is hardly controllable and unattractive, hectic movements of the gimbal would be the result.
- Gimbal pitch buffer = 25 This setting determines how long the gimbal will continue to run out after a movement. If the value is 0, it would stop abruptly.
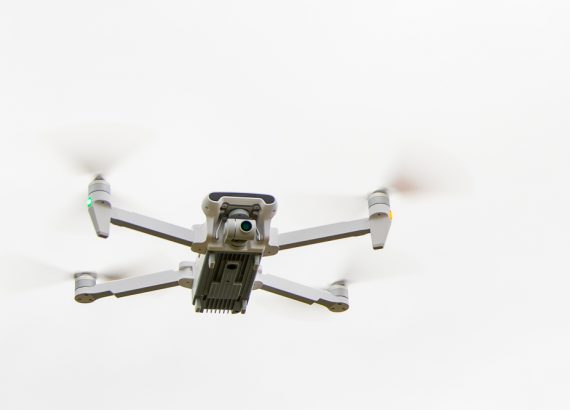
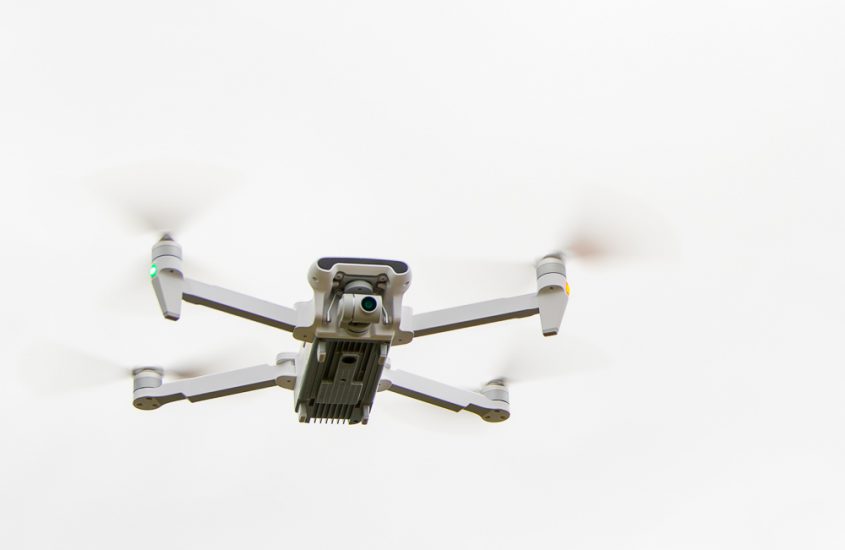
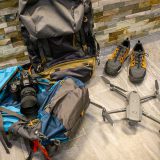
Fimi X8 SE in flight
Video settings of the camera
Let’s get down to business. In the video settings we store the parameters with which the videos are recorded. This is where we have the greatest leverage for high-quality video, but we can also do a lot wrong.
- Make sure that we are in video mode and not photo mode and open the video settings.
- Switch to “M” mode for manual control of ISO and time
- ISO = 100 (if necessary bump up to about 1000, when only very little light is available, but the image noise increases dramatically.
- The aperture on this drone is fixed. You can’t change this value. If you want full control over aperture settings, you should go for DJI’s productline of Mavic drones (Amazon Affiliate Link).
- Exposure time = 1/60th Here is the key, here we decide whether our video material will look like in the cinema or not.
The exposure time of 1/60 should not be changed, the reason for this is the so-called 180 degree rule. Since we will later create video material with 30 frames per second, we have to choose twice the frame rate as exposure time, and the video material created in this way will be slowed down to 80% of the original speed (we slow it down by 20%). Exactly this will later provide a cinematic experience of our videos. You can find more information on this page: https://www.premiumbeat.com/blog/how-to-achieve-perfect-slow-motion-results-in-post/ - The selection of the video size first determines the resolution of our material.
I create my videos with 4K resolution, which corresponds to a setting of 3840 x 2160 pixels.At this point you notice that there are two settings with this resolution: HQ and FOV. Which of these settings you choose basically depends on the desired image detail and the motif.If you choose the HQ mode, you will get a smaller section of the drone’s field of view in high quality. The picture is very sharp right into the corners.
The FOV (Full field of view) mode records a wider field of view, especially practical for large panoramas, the sharpness of the image decreases in the outer areas, especially at small aperture values. - When I do the white balance, I turn off the automatic. The reason for this is that I want to avoid that the camera regulates the white balance during a recording and then the color temperatures in the video visibly change. So I ALWAYS set the white balance to “Cloudy” (around) 6000K. From this value, I can change the white balance in any direction later on in post production.
- For the color profiles, I choose the D-Log. This profile looks boring and colourless immediately after recording, but is best edited later.
- Attention: The use of D-Log leads to distortion of the video recordings, because the distortion of the lens in these recordings is not eliminated inside the drone. Therefore the lens correction is essential in the later video processing. Premiere Pro and final Cut provide these functions by default.
Tips for flying
Cleaning the camera
Sounds logical, but I often forget myself. To be on the safe side, you should clean the camera with a microfiber cloth before every flight. Better safe than sorry. Otherwise fingerprints and dust can cause unwanted light refractions or blurring, up to the failure of the autofocus.

- ✅ FUSSELFREIE & EINFACHE REINIGUNG: Für alle Optikflächen egal ob trocken oder mit Reiniger angefeuchtet. Die weichen...
- ✅ ZWEI FARBEN IM SET (3x blau + 2x weiß): Säubern mit System! Die beiden verschiedenen Farben in diesem Kit machen es Ihnen leicht...
Tips for post-processing
As mentioned before, it is important to note that our created video material is slowed down in post-production and only plays back at 80% of the original speed. This ensures a cinematic experience of our pictures.
I myself have been rendering all my videos with Final Cut Pro for years. For color grading, especially when shooting in D-Log video formats, I use the plugin Epicolor from Lemke Software.
It is one of the best plugins for color grading and helps you to make the video material look like what you have recorded with the human eye.
https://www.lemkesoft.de/produkte/epicolor/
Epicolor is available through the FXFACTORY plugin suite https://fxfactory.com/ , a kind of supermarket for video effects. Like most other plugins, Epicolor is available as a trial version within FXFACTORY. So you can check if you get the desired results with Epicolor. I am very sure that this will be the case.
All the links in this text are Amazon Affiliate Links, and by clicking on an affiliate link I will earn a percentage of your subsequent Amazon purchases. However, this circumstance does not influence the background of my product recommendation. This product recommendation is independent, honest and sincere.
Bei allen genannten Links handelt es sich um Amazon-Affiliate-Links. Durch einen Klick auf einen Affiliate-Link werde ich prozentual an Euren darauf folgenden Amazon-Einkäufen beteiligt. Dieser Umstand beeinflusst aber nicht die Hintergründe meiner Produktempfehlung. Diese Produktempfehlung erfolgt unabhängig, ehrlich und aufrichtig.


Roland
HI Daniel,
Great post, but I have some troubles settings a lot of your tips. I’ve tried to apply your tips above because I want to have better video performance. But most of the settings I cannot set! For example, I cannot set the white balance in kelvin, and also the shutter speed is a mistery. I only see in the screen auto, but I have no way taking control over these settings.
What am I doing wrong? Do you have any idea?
Thanks for your reply!
Daniel
Hello Roland,
I updated the article for more precision on the White balance. 6000k is equal to “cloudy”.
You should be able to change the aperture when beeing in manual “M-Mode”.
Best regards,
Daniel
Roland
Hi Daniel,
Thanks for your quick reply! I did set the drone to M mode, but the only thing I can see is ISO (I can set it from auto to 3200). EV Get’s greyed out. There is no setting for aperture. Also in the main screen below next to EV (which is set to 0.0 in auto) there is an aperture icon and it is set to auto. I’ve never seen this setting other then auto. If I tick the icon I get into the video settings menu. Do I need to enable some advance settings or something?
I have recorded a video with my I-Phone. Could I send it to you somehow, so you can have a look what I see and you can compare it to what you are seeing?
Thanks again!
Best regards,
Roland
Alessandro Dionisi
Hey one question. Why if I set video preferences (F-log, quality, etc), they are not persisted after drone reboot?
Kinzell
And this is perfect question, have just the same problem!
Gurjit Sidhu
Im sure the aperture is fixed on this drone, I certainly dont have any option to change the aperture in the settings in ‘M’ mode
Paul Baker
The newest Fimi X8 SE 2020 doesn’t allow 1/60? Has this changed since a previous version? 1/64 is the closest.
Also, my footage is incredibly grainy even on 100 iso during relatively bright days. Do you have any idea why this might be?
Piotr
Same in my 2020. While watching YT videos I suspect that lens in 2020 is worst then in 2018
Konrad
hi Daniel
you blog is very clear and intresting.
do you have a suggestion to fix a problem with photo clearness
when I take a picture on my X8 SE (2019) with 1018 camera firmware , the photo looks confuse as it is blurred .
may be the saturation value too high ?
what value do yoiu use for pictures ?
thanks .
Donald Frame
Hi Daniel,
Good info and thanks. My FIMI app has been telling me that video quality is reduced when using Intelligent Flight Mode. This doesn’t seem logical to me. Is it a setting that causes this?
;-Don