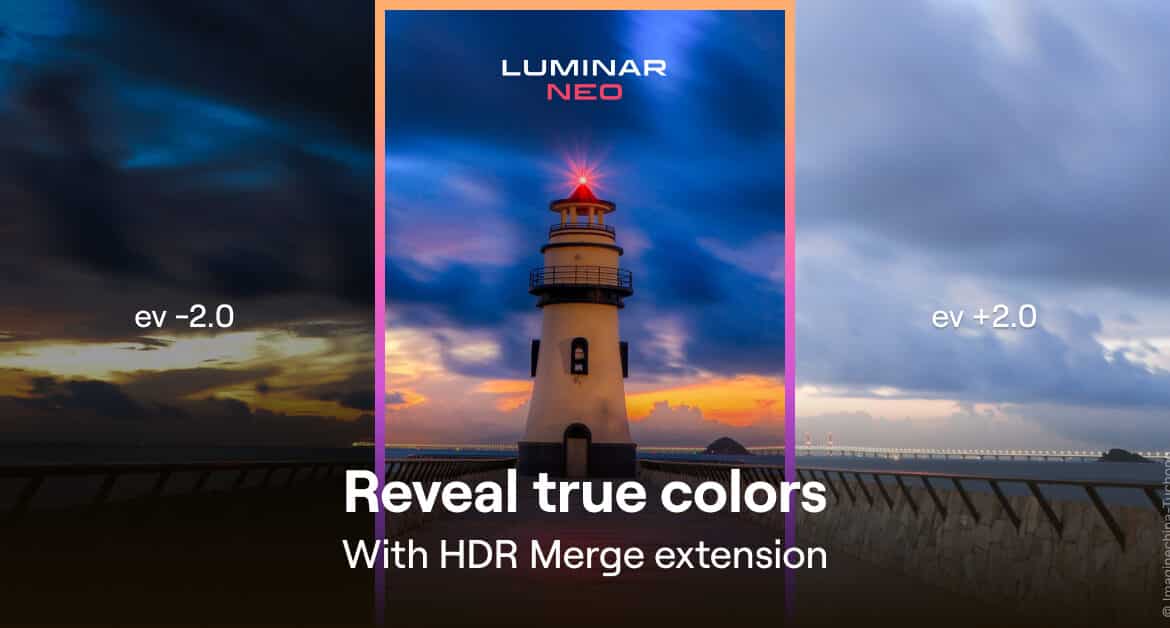
How to develop HDR photos in 2022: Luminar Neo with HDR Merge
In this tutorial I explain step by step how to create an HDR composition from the images of an exposure series. I use Luminar Neo HDR Merge as the programme for HDR development.
What you need to create an HDR image in this tutorial:
- Luminar Neo Image Editor with HDR Merge Plugin (Download free trial version here) – purchase price later approx. 89€ for Luminar Neo and 49€ for HDR Merge.
- Mac or Windows computer (Luminar Neo with HDR Merge Plugin is available for both platforms)
- 3 to 10 images of an HDR exposure series
Importing Raw Photographs into Luminar Neo HDR Merge
Once you have installed Luminar Neo and added the HDR Merge Plugin on the start screen (click on the puzzle piece next to the Luminar logo) you are ready to go.

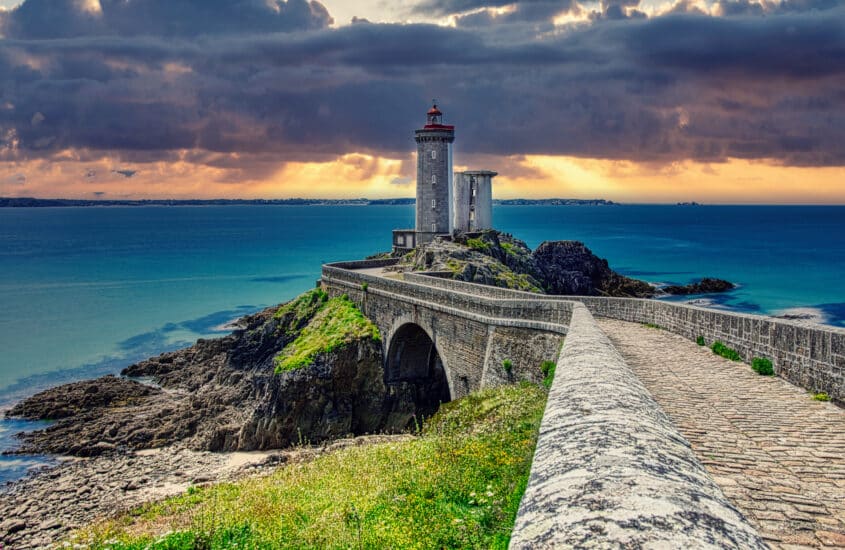
I have stored the RAW photos of my exposure series on the desktop. You can also import JPEGs at this point, but for reasons of higher image quality I always recommend using RAW files. In my case, I want to create an HDR composition from 10 differently exposed photos of one and the same motif. By the way, the pictures show the lighthouse “Phare petit minou” in France. It is one of my best-selling images on various stock photo portals.
I simply drag and drop the images I use into the HDR Merge area on the start screen of Luminar Neo:

Within the import field, the imported images are now displayed as thumbnails. For this purpose, the respective exposure value is displayed below the images and we can hit the “Merge” button:

The images are now merged and the composition is displayed in the image catalogue. With a double click on the image in the catalogue we can jump to the development mask:

Infinite possibilities of HDR processing
An HDR image lives from the details and the contrast. By combining different exposures, no details are lost in overexposed or underexposed parts of the image.
When processing, I therefore start with the histogram and the shadows and highlights. This way I increase the range of visible details:

Both the light clouds and the dark area under the bridge become visible with all their details. I can then enhance or strengthen the details themselves with the settings in the details section. For the first time we see a real HDR look in our picture:

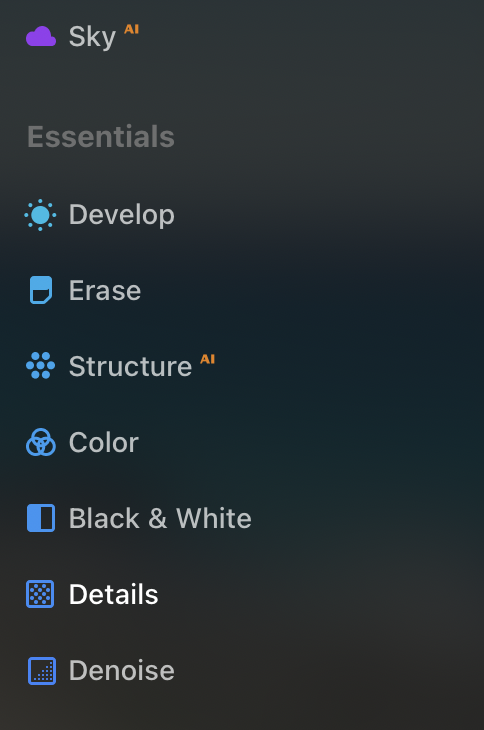
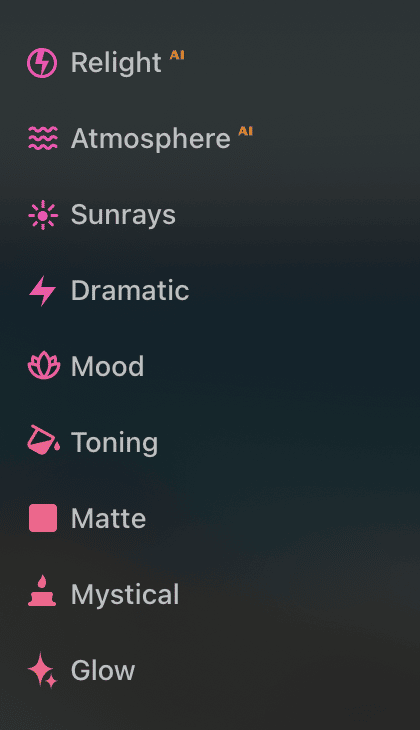
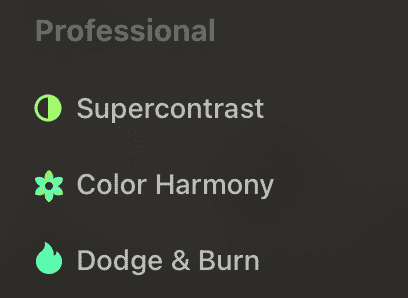
It makes little sense at this point to go through all the other possible processing settings; after all, every motif is different and so are tastes. Besides, basic, non-HDR-specific post-processing development processes should be familiar to most users anyway. But this much should be said, just by looking at the sheer amount of editing options available, it becomes clear how much room for creativity there is in Luminar Neo. For the final result above, I used only a fraction of the total functions available:
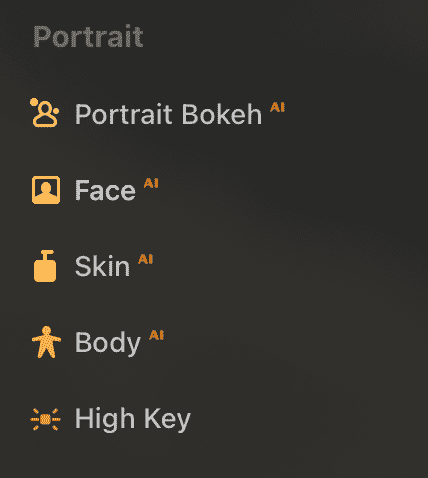
If you want to go further, you can even edit or replace essential components of the image with the help of an amazingly well-functioning artificial intelligence (AI). For example, the sky can be replaced and the lighting mood of the image can be adapted to the lighting conditions of the sky. Is that still photography? In my eyes, such editing goes far beyond authentic photography. Anyways, the technical possibilities are impressive:

What about performance?
A lousy speed when stitching HDRs can really ruin the fun. When I develop my first photos while travelling, I don’t want to have to stare at loading bars the whole time.
In the past, I have created HDRs mainly with Affinity Photo and Aurora HDR (also from the developer of Luminar). The new HDR workflow in Luminar Neo beats them all.
On my Macbook M1 Pro, the times for assembling 10 images into an HDR composition (no alignment correction, no ghost reduction) are as follows:
- Luminar Neo HDR Merge: around 19 seconds
- Affinity Photo: around 25 seconds
- Aurora HDR 2019: around 26 seconds
Download free trial version of Luminar Neo now
The developers of Skylum are based in Ukraine. By buying the software, you support the people and the economy in Ukraine who are suffering from the Russian war of aggression.
If you want to test the software for free, that’s no problem. Click here for the product page with free trial version for Luminar Neo and the HDR Merge Plugin.