Build trellis climbing aid from stainless steel cables

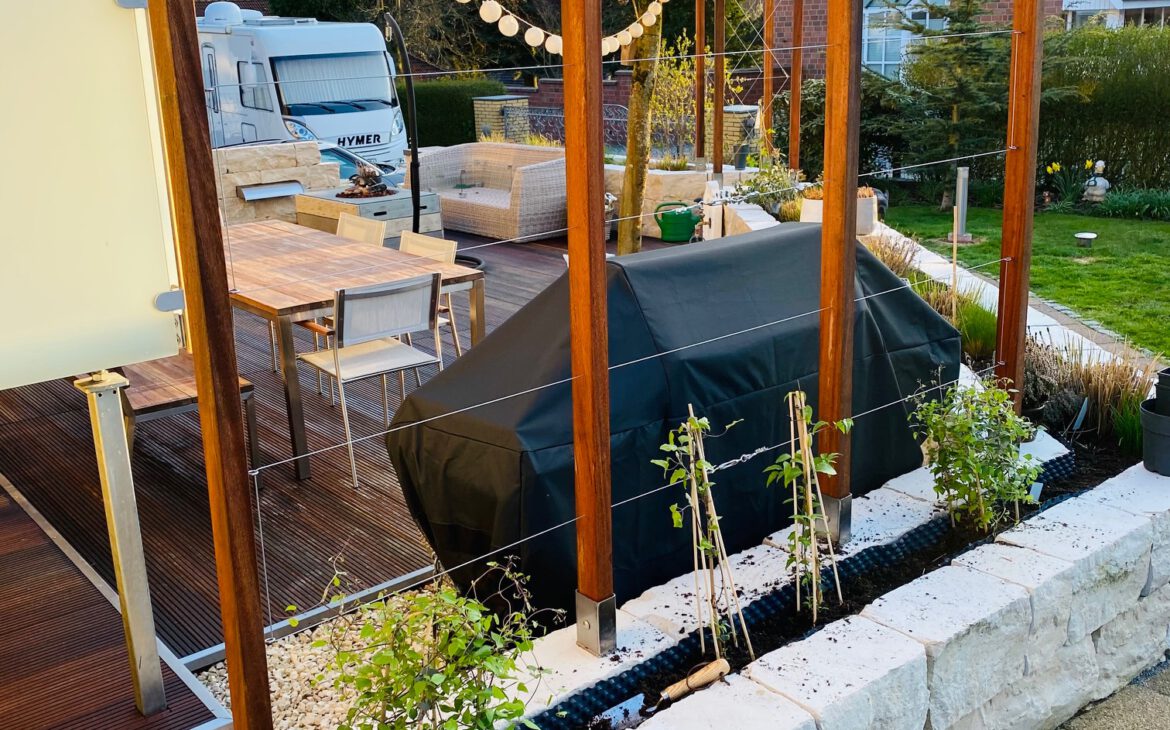
On our terrace we want to build a climbing aid from stainless steel cables. Not so easy, if you have never worked with stainless steel cables. How do you attach the ropes and how do you tension them?
Pay attention to stainless steel and coating
First of all, you should make sure that the respective set not only says stainless steel on it, but is also in it. This applies not only to the rope itself, which is usually made of stainless steel, but also to all other parts of the set: clamping screws, eyelets, screw clamps. The only exception are crimp terminals (crimp sleeves) , these are usually made of slightly bendable, but also non-rusting aluminum.
In addition, it makes sense in my eyes, if the steel cables are coated by a thin layer of PVC. This makes them more durable and prevents individual ropes from breaking.
For these reasons, I chose a set of stainless steel ropes, turnbuckles, eyelets, hooks and crimp clamps from Ruesious (Amazon Affiliate Link). The components included are actually stainless steel as well. Included are
- 30m nylon coated wire rope,
- 5 pcs M4 304 stainless steel turnbuckles,
- 3 pcs M6 304 stainless steel expansion hooks,
- 10 pcs M4 304 stainless steel screw eyes,
- 12 pcs M2 304 stainless steel wire rope clips,
- 3 pieces 304 snap hooks,
- 20pcs aluminum crimping slings sleeves and thimbles.
To cut a long story short: There is enough fastening material for every project.
- ★ Hardware und Beschläge - inklusive 30 m Nylon-beschichtetem Drahtseil, 5 Stück M4 304 Edelstahl Spannschloss Siebhaken, 3 Stück...
- ★ Praktisches Montagedesign - jedes Teil ist durch Gewinde verbunden, sehr einfach zu installieren und zu entfernen. Isolierte...
Fastening the wire ropes
The attachment is quite simple. First, I screwed the screw eyes into the wood of the climbing aid. Pre-drilled briefly, screwed in until just above the thread, done.
Alternatively, you can also use the expansion hooks for this. These are inserted into a suitably drilled and not too large hole and then tightened. By tightening, the end of the hooks mushrooms in the drilled hole and thus wedges in the wood. In my case, I have dispensed with the expansion hooks, the eyelets serve their purpose.
Now we can pull the wire rope through the eyelets first and check if our tensioning plan will open.
If the concept is right, we can attach one end of the wire rope to one of the screw eyes with a so-called thimble. To do this, we insert the U-shaped thimbles into the screw eyelet with a little bit of force.
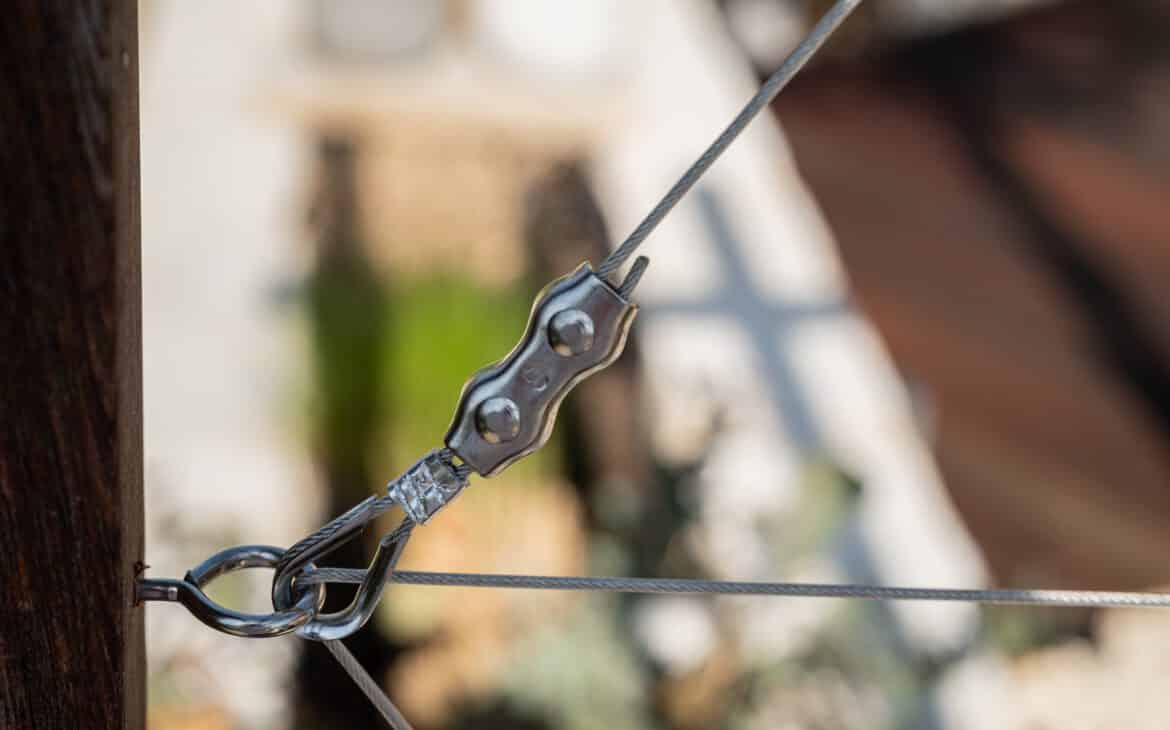
Now we put a double-hole aluminum crimp sleeve onto the steel rope. We now pass the rope through the thimble and also insert the rope into the second hole of the double-hole aluminum crimp sleeve.
Nextwe pull the steel cable on the thimble nice and tight, and push the aluminum sleeve very close to the thimble. Using blunt pliers, we now squeeze the aluminum sleeve together so that it fixes the steel cables in front of the thimble.

That holds quite well. To be on the safe side, I still use the screw crimp sleeve. I place this directly behind the aluminum crimp sleeve and screw it tight. “Double holds better” – as we say in Germany.
One side of our wire rope is now fixed. Let’s move on.
Tensioning the wire ropes
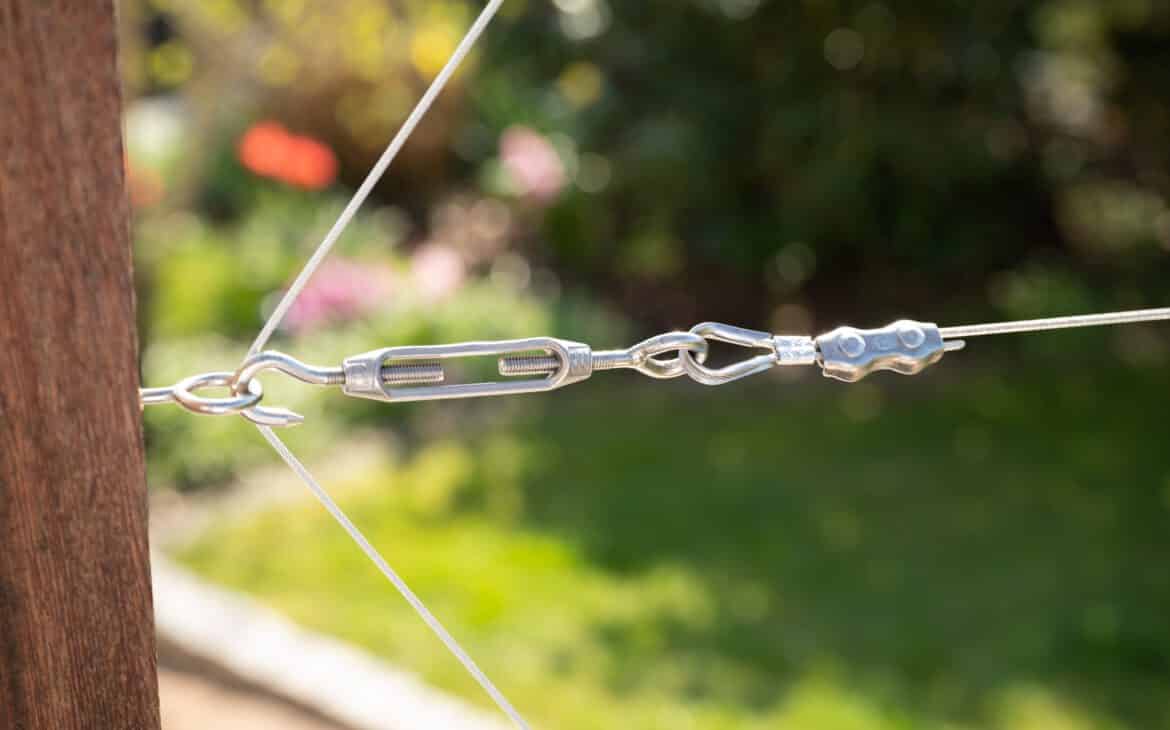
Now we grab a so-called turnbuckle, a screw to apply tension to our steel wirens. We turn both sides of the turnbuckle almost completely out of the thread so that the entire turnbuckle gets its maximum length. Now we hang the turnbuckle with the hook in the eye hook where our rope construction should end.

On the side of the turnbuckle facing the rope, there is now a closed eyelet. Now we proceed again as above: Insert thimble, thread in rope with aluminum crimp sleeve and crimp tight. If necessary, attach an additional screw crimp sleeve. Make sure that the steel cable is already hanging with quite a lot of tension in front of the still unclosed turnbuckle.
If this is successful, we can now tighten the turnbuckle. To do this, we simply turn the middle part with the thread. The hook and eye side now turn into the thread, creating the tension on the rope. Done.


