


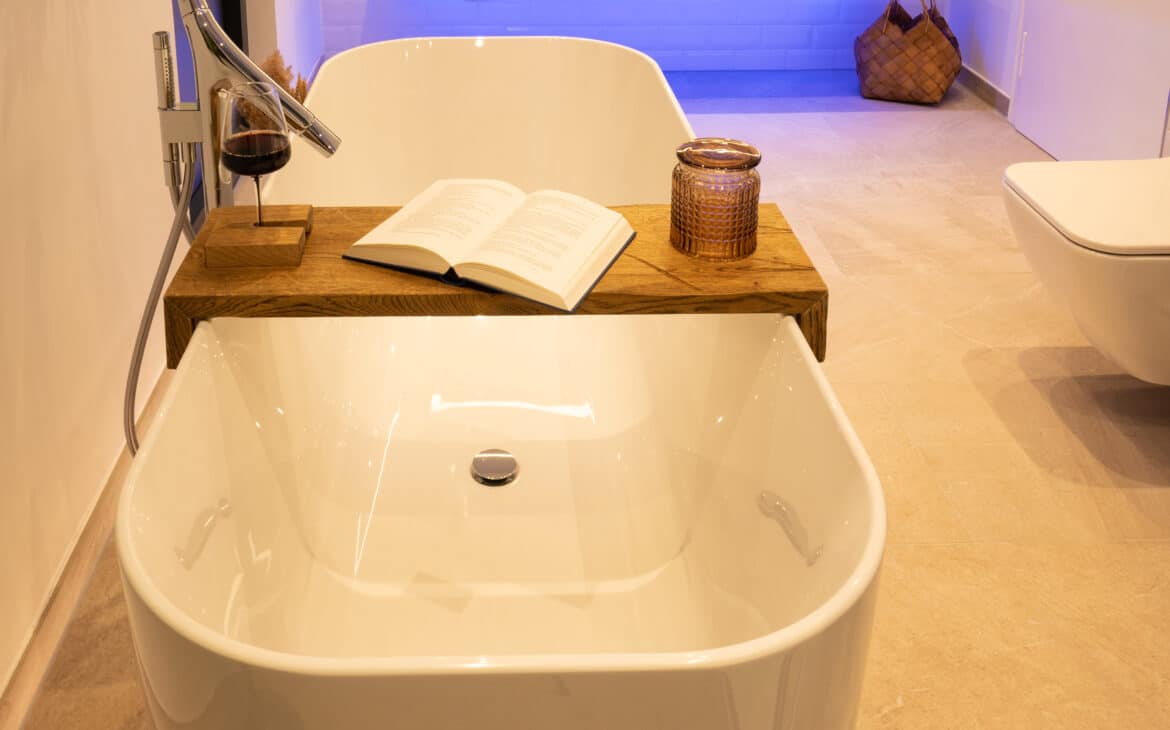
DIY Wooden Bath Tray with Wine Glass Holder
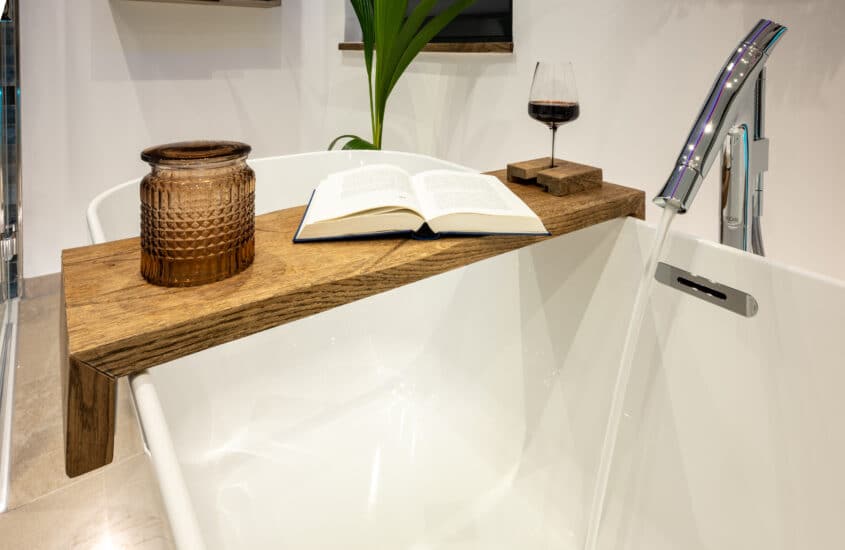
Instructions for building a tray for the bathtub with integrated wine glass holder. There is also enough space for your tablet and smartphone. Now you can relax in the bathtub, watch Netflix on your iPad and drink a nice glass of vino.
Required material
- Any hardwood with a thickness of 2-3 cm (can be bought at dieholzmanufaktur24.de) in the length of the width of your bathtub plus a total of 30 cm more for the sides and the wine glass holder. A depth of 25 cm is sufficient, do what suits you best.
- Ponal Classic wood glue *
- Self-adhesive felt glides from the roll
Note: I find it more precious to make the tray out of 3cm thick wood. If you agree, make sure beforehand that your saw has a sufficiently large cutting depth even at a 45° angle – more on this topic below.
Required tools
- Circular saw or hand-held circular saw with 45° cutting function *.
- Fine saw blade * for clean cuts
- Palm router * for “hollowing out” the wine glass holder
Later, we have to cut the wood at the butt edges at 45° angles. For this, your saw must be able to cut at a 45° angle. Note that with a wood thickness of 2 cm you need a 45° cutting depth of 2.9 cm, with a wood thickness of 3 cm it is already 4.25 cm. Not every saw can do that. That’s why I use the Bosch BITURBO GKS 18V-68 C cordless circular saw * with a cutting depth of 4.9 cm at a 45° cutting angle.
If you want to cut wood for furniture and similar projects and precision is important so that the mitre-cut angles really fit well in front of each other, you should use a fine saw blade. I use a Bosch fine saw blade * that fits my saw.
So that we can later “hollow out” the wine glass holder from the inside and mill out the insert for the wine glass, a surface milling machine is recommended. I have been using the OF-1200 A surface router from Lux * for years. It’s cheap, but it’s quite good for my hobby purposes.
Construction plan and instructions
, wine glass holder (yellow), felt glides (purple)")
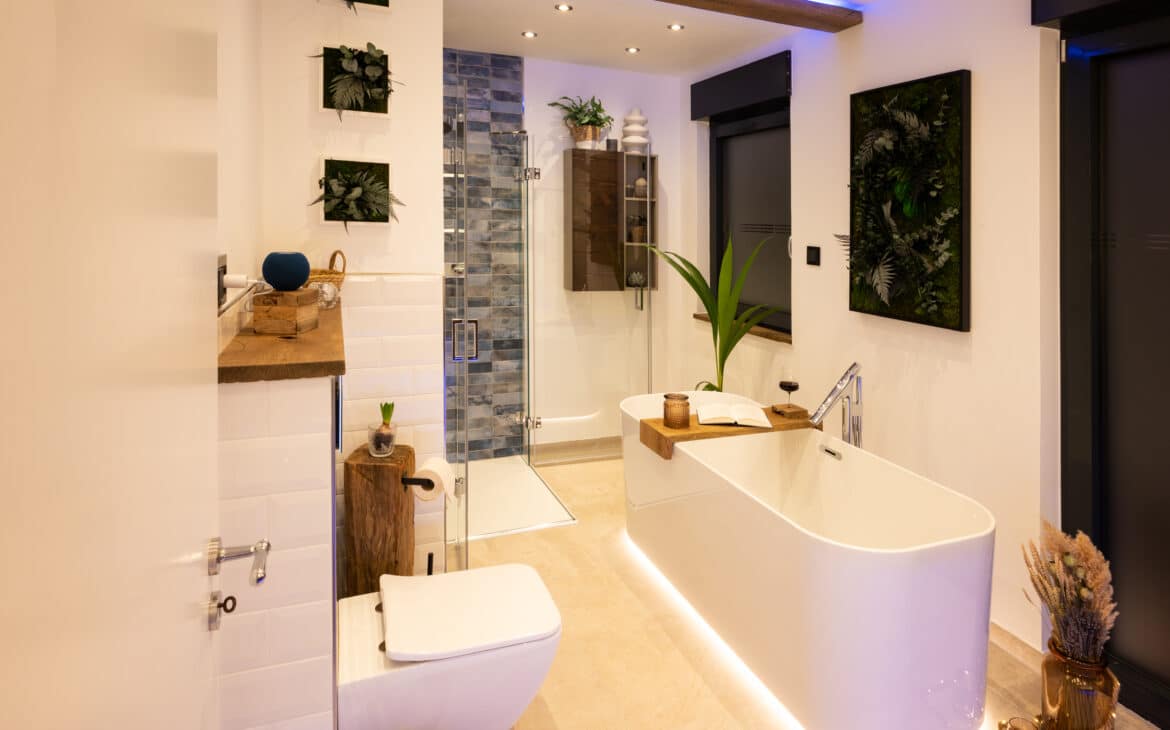
I have intentionally not added any measurements, after all, every bathtub is different in width. Just measure the widest point of your bathtub and add 2cm so that you have enough space between the edge of the bathtub and the inside of the wood.
To this determined width, including the added 2cm, you now add twice the thickness of your wood.
Again for safety:
Bath tub width + 2cm + wood thickness + wood thickness
Now divide your piece of wood into 4 sections using a tape measure and a pencil:
Section 1: Draw a cut edge (A) on the top of your wood from the beginning of your wood after 10cm. This area will later become the left border.
Section 2: Now measure another large piece in the length you have determined above (
bath width + 2cm + wood thickness + wood thickness) and again draw a cut edge (B) on the top of your wood. This will later become the tray itself.
Section 3: Now measure another 10cm and draw a cut edge (C) on the top of your wood. This area will later become the right border.
Section 4: We will build the wine glass holder from the rest later.
First cut with the saw along the cutting edge “C” – quite normally at a 90° angle.
Now cut at a 45° angle along the cut edges “A” and “B” so that the saw blade points to the centre of the later shelf.
Now you should have 4 wooden pieces in your hands:
- The left surround (section 1)
- The shelf of your tub tray (probably the biggest part) (section 2)
- The right border (section 3)
- The rest of which we will use to build the wine glass holder (section 4)
Remove all chips with fine sandpaper and make sure the cut edges are nice and flat.
Now the Ponal Classic wood glue is used:
Wet the mitred angle pieces with the glue and place the wooden pieces so that you get a U-shape, see construction plan. Place the workpiece so that you can exert pressure on the glued areas during the drying process. Use screw clamps or heavy parts such as boxes or bricks to “squeeze” your workpiece between. Make sure that any glue that comes out between the pieces of wood due to the pressure is wiped away immediately. Let the whole thing dry for 2 hours. Better safe than sorry.
Meanwhile, we take care of our wine glass holder:

First measure the diameter of the feet of your wine glasses and add 2.5cm to this length.
For example, if your wine glass foot is 6cm in diameter and you add 2.5cm, you get a total length of 8.5cm.
Now cut a square with the calculated dimensions from your scrap wood (in the example 8.5cm x 8.5cm).
Now clamp this piece in a vice with its underside facing up. Set your router to a depth that is at least half the thickness of your wood. With the router, cut away everything from the centre, but leave a 1cm margin on each of three sides. The left side edges form a “U”.
Now turn the workpiece over so that the top is facing up. Mark the centre of the workpiece with a pencil. Draw a guide line from here to the centre of the open side of the “U” on the bottom. Now mill from the centre to the middle of the open “U” side.
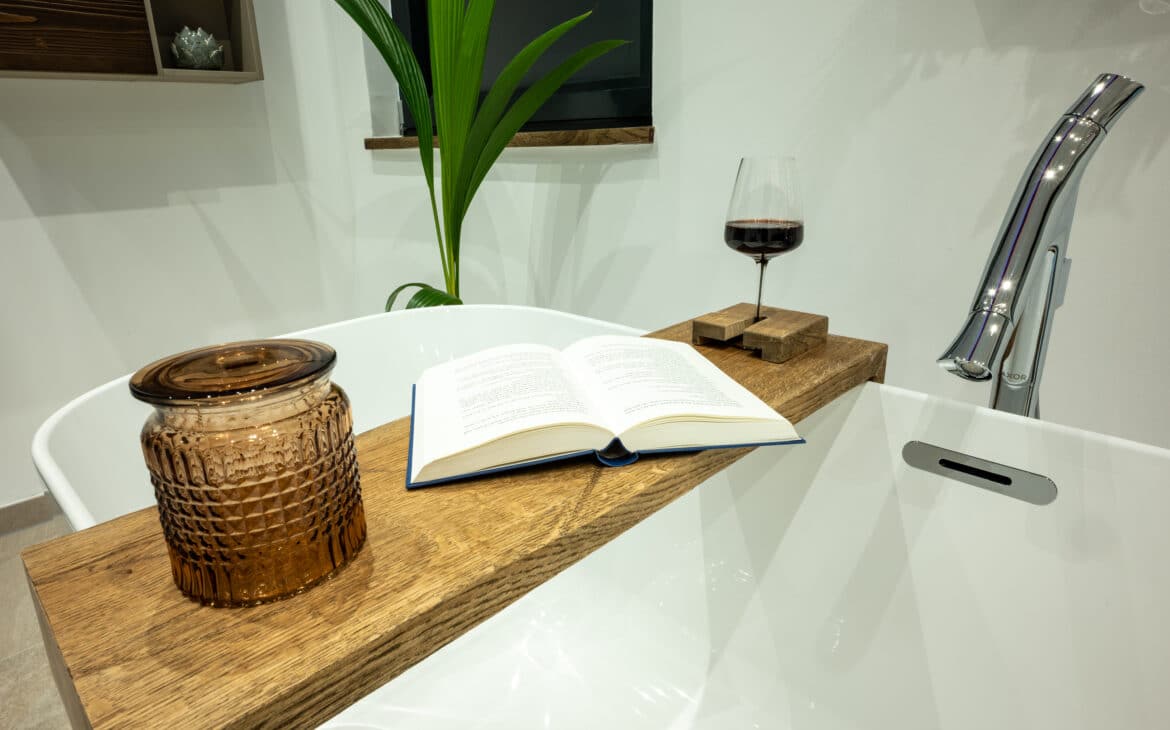
The wine glass holder is finished. Test whether your wine glass fits, otherwise adjust it until the wine glass is securely held. We remove protruding fibres and splinters with fine sandpaper.
When the tray and wine glass holder are ready, it is time for the “wedding”. We now glue the holder to the tray with Ponal Classic wood glue.
If you are right-handed, I recommend sticking the wine glass holder on the left side of your tray. For left-handers, it is more ergonomically accessible on the right side.
Now you can cut the self-adhesive felt gliders to size and stick them to the places marked in purple on the construction plan. This will prevent the wood from scratching your tub.
Have fun bathing and relaxing!

* All links marked with an asterisk are Amazon affiliate links. We receive a percentage of the purchases made through them. Our recommendations are nevertheless honest and sincere.