Useful basic settings for cinema-quality video material with DJI Mavic 2 Pro – Cinematic Video
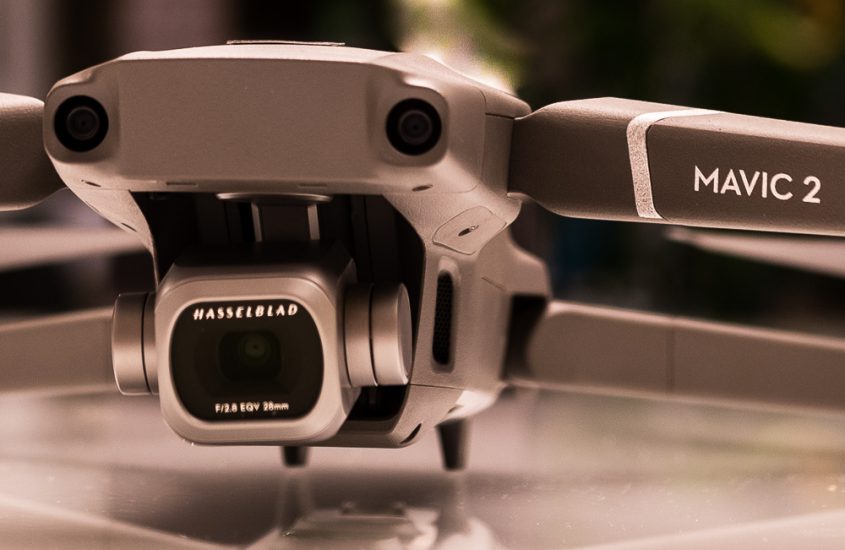
DJI’s Mavic 2 Pro gives creative professionals every opportunity to create fantastic video footage. The Hasselblad camera with its 1-inch sensor produces razor-sharp 4K video even in low light conditions. With the right settings, we were able to make the most of the drone’s potential.
Gimbal settings
Before we get into the video-only settings of our DJI Mavic 2 Pro (Amazon Affiliate Link), we should familiarize ourselves with the gimbal settings. These settings affect how fast the gimbal pans and how abruptly the gimbal stops after a movement. Both are properties that inevitably influence the fluidity of our video recordings.
- In the settings menu of the drone we go to the menu submenu of the gimbal and then to the advanced settings.
- Max. Gimbal pitch speed = 3 This setting determines the maximum speed of the gimbal. This low setting ensures smooth gimbal movement even when the wheel is at maximum pitch. With higher values the camera with the wheel is hardly controllable and unattractive, hectic movements of the gimbal would be the result.
- Gimbal pitch buffer = 25 This setting determines how long the gimbal will continue to run out after a movement. If the value is 0, it would stop abruptly.
Video settings of the camera
Let’s get down to business. In the video settings we store the parameters with which the videos are recorded. This is where we have the greatest leverage for high-quality video, but we can also do a lot wrong.
- Make sure that we are in video mode and not photo mode and open the video settings.
- Switch to “M” mode for manual control of ISO, aperture and time
- ISO = 100 (if necessary bump up to about 1000, when only very little light is available, but the image noise increases dramatically.
- The aperture should be adjusted according to the available light. If little light is available, the iris should be opened completely, if a lot of light is available, the iris can be closed further. But be careful from an aperture of 5 and upwards, the image quality can suffer at the edges of the image. So if you want to be on the safe side, only adjust the aperture up to a value of 5 and from then on use ND filters to regulate the incident light, see section “Tips for flying”.
- Exposure time = 1/60th Here is the key, here we decide whether our video material will look like in the cinema or not.
The exposure time of 1/60 should not be changed, the reason for this is the so-called 180 degree rule. Since we will later create video material with 30 frames per second, we have to choose twice the frame rate as exposure time, and the video material created in this way will be slowed down to 80% of the original speed (we slow it down by 20%). Exactly this will later provide a cinematic experience of our videos. You can find more information on this page: https://www.premiumbeat.com/blog/how-to-achieve-perfect-slow-motion-results-in-post/ - The selection of the video size first determines the resolution of our material.
I create my videos with 4K resolution, which corresponds to a setting of 3840 x 2160 pixels.At this point you notice that there are two settings with this resolution: HQ and FOV. Which of these settings you choose basically depends on the desired image detail and the motif.
If you choose the HQ mode, you will get a smaller section of the drone’s field of view in high quality. The picture is very sharp right into the corners.
The FOV (Full field of view) mode records a wider field of view, especially practical for large panoramas, the sharpness of the image decreases in the outer areas, especially at small aperture values. - As file format you can choose if you want to record in MP4 or MOV. The choice has no effect on the quality of your videos. If you edit the videos on a Mac, you should choose MOV, if you edit the videos on a Windows PC, you should choose MP4, because the systems can read the respective format faster, which speeds up your workflow. Apart from the speed advantage in editing, there are no limitations in choice, both Windows PCs and Macs can read both formats.
- When I do the white balance, I turn off the automatic. The reason for this is that I want to avoid that the camera regulates the white balance during a recording and then the color temperatures in the video visibly change. So I ALWAYS set the white balance to 6000K. From this value, I can change the white balance in any direction later on in post production.
- As style I choose “None”/”Standard”. This ensures the best possibilities for later processing.
- As coding I use h.265, because only in this coding the following color profiles D-Log-M and HSL are possible.
- For the color filters, I choose the D-Log-M format for 90% of my shots. This profile looks boring and colourless immediately after recording, but is best edited later. In very low light conditions, for example at dusk I use the HLG format (Hybrid Log Gamma). This achieves richer colors and less image noise in dark environments during post-processing.Attention: The use of D-Log-M or HLG leads to distortion of the video recordings, because the distortion of the lens in these recordings is not eliminated inside the drone. Therefore the lens correction is essential in the later video processing. Premiere Pro and final Cut provide these functions by default.
Tips for flying
Removing the gimbal protection
I personally remove the gimbal protection before every flight, even if some Mavic pilots leave it installed during the flight. However, the plastic protection can affect the video recordings e.g. by micro-scratches, reflections and dust.
Cleaning the camera
Sounds logical, but I often forget myself. To be on the safe side, you should clean the camera with a microfiber cloth before every flight. Better safe than sorry. Otherwise fingerprints and dust can cause unwanted light refractions or blurring, up to the failure of the autofocus.

- ✅ FUSSELFREIE & EINFACHE REINIGUNG: Für alle Optikflächen egal ob trocken oder mit Reiniger angefeuchtet. Die weichen...
- ✅ ZWEI FARBEN IM SET (3x blau + 2x weiß): Säubern mit System! Die beiden verschiedenen Farben in diesem Kit machen es Ihnen leicht...
ND filter better than high aperture values
If the surroundings are too bright, you will probably first close the aperture further so that less light falls on the sensor. Up to an aperture value of 5 this is also unproblematic. At higher aperture values, however, the image quality may suffer due to blur. What sounds paradoxical at first, is actually the case.
If you still want to reduce the light entering the sensor, you can do so with ND filters for the Mavic 2 Pro. For example, those who want to film a Greek beach in the Mediterranean midday sun will hardly be able to avoid the use of ND-filters without having overexposed large parts of the image.

- Verbesserte kontrolle: diese hochwertigen nd-filter reduzieren die lichtmenge im sensor und sorgen für eine bessere kontrolle über...
- Filter-set: dieses set enthält filter nd4 , nd8, nd16 und nd3 2 , die einen 1tieg von 14 , 18, 116 und 13 2 ermglichen, was...
Tips for post-processing
As mentioned before, it is important to note that our created video material is slowed down in post-production and only plays back at 80% of the original speed. This ensures a cinematic experience of our pictures.
The use of D-Log-M or HLG leads to distortion of the video footage, because the distortion of the lens is not eliminated inside the drone during these recordings. Therefore, lens correction is essential in the later video processing. Premiere Pro and Final Cut provide these functions by default.
I myself have been rendering all my videos with Final Cut Pro for years. For color grading, especially when shooting in D-Log video formats, I use the plugin Epicolor from Lemke Software.
It is one of the best plugins for color grading and helps you to make the video material look like what you have recorded with the human eye.
https://www.lemkesoft.de/produkte/epicolor/
Epicolor is available through the FXFACTORY plugin suite https://fxfactory.com/ , a kind of supermarket for video effects. Like most other plugins, Epicolor is available as a trial version within FXFACTORY. So you can check if you get the desired results with Epicolor. I am very sure that this will be the case.
All the links in this text are Amazon Affiliate Links, and by clicking on an affiliate link I will earn a percentage of your subsequent Amazon purchases. However, this circumstance does not influence the background of my product recommendation. This product recommendation is independent, honest and sincere.
Bei allen genannten Links handelt es sich um Amazon-Affiliate-Links. Durch einen Klick auf einen Affiliate-Link werde ich prozentual an Euren darauf folgenden Amazon-Einkäufen beteiligt. Dieser Umstand beeinflusst aber nicht die Hintergründe meiner Produktempfehlung. Diese Produktempfehlung erfolgt unabhängig, ehrlich und aufrichtig.