Mounting Maxtrax MK II theft-proof on Quickpitch / Alu-Cab roof tent rails
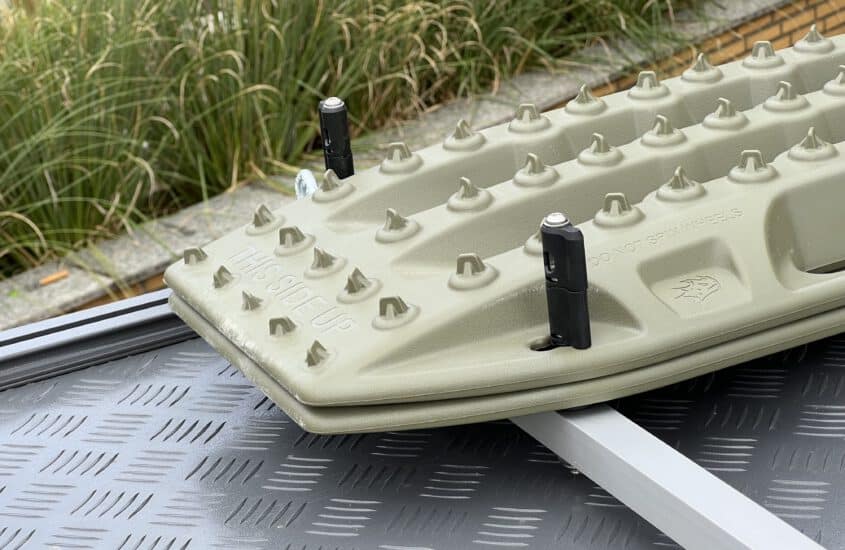
In this post I show you how I attached my Maxtrax MK2 recovery boards to the roof tent in a theft-proof way.
Original Maxtrax anti-theft mounting pins
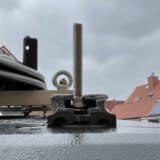
A set of 4 fastening pins * is available from the manufacturer of the Maxtrax MK II recovery boards. Up to four salvage boards can be fixed with it. By turning the head section 90°, the sand boards can then be fastened in the mounting pins. When closed, we can now insert a conventional TSA lock through the head of the pins and thus protect the Maxtrax MK II from theft.
The mounting pins rest on an M10 stainless steel thread – but how do we get these mounting pins onto the roof tent?
Aluminum square tube crossbar
The mounting rails of the roof tent are suitable for the use of M8 carriage bolts * and M8 hammerhead screws *. Both variants fit into the rails and can later be fixed in the rails with a self-locking nut * or ring nut *.
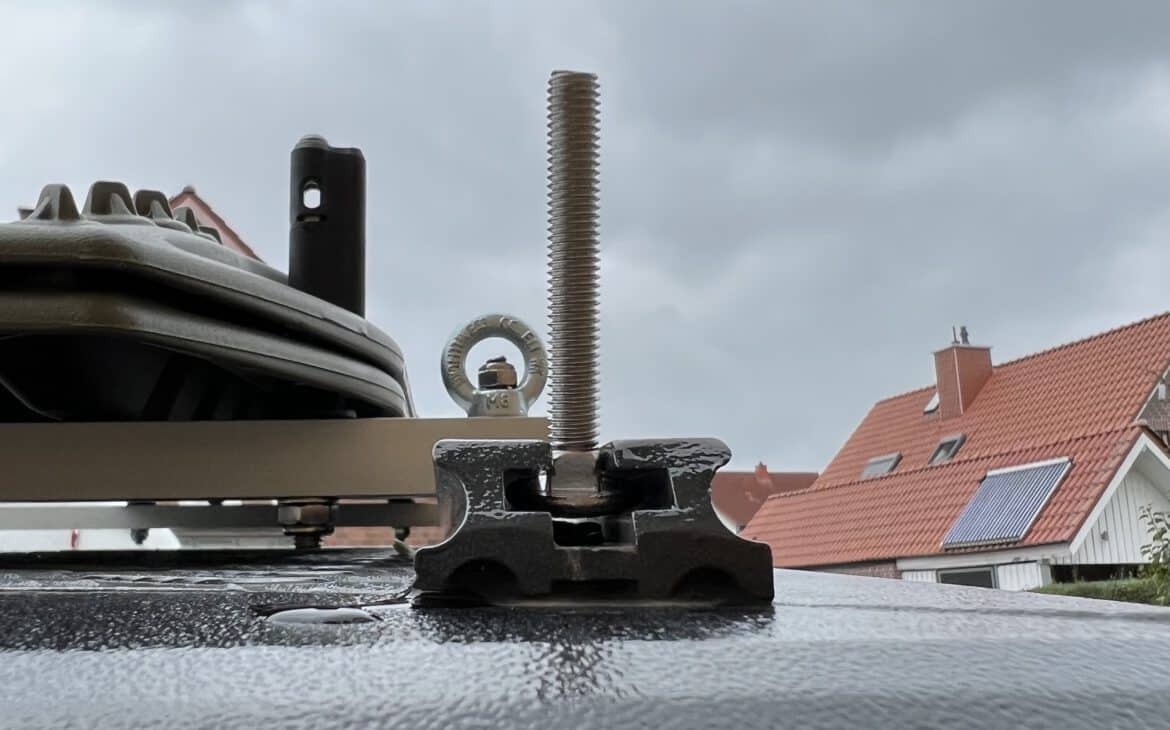
Now I have built myself crossbeams from 25x25mm aluminum square tube. To do this, we shorten two of these crossbeams to exactly 123 cm in length at the Quickpitch.
We arrange the cut square tubes on the rails of the roof tent and mark the places through which the thread for the carriage bolts or hammerhead screws is to be inserted later. At these points, we now drill through the square tube on both sides. I pre-drilled with a 4 drill bit, then widened the hole with a 6 drill bit and then finally widened it with an 8 drill bit for the M8 thread.
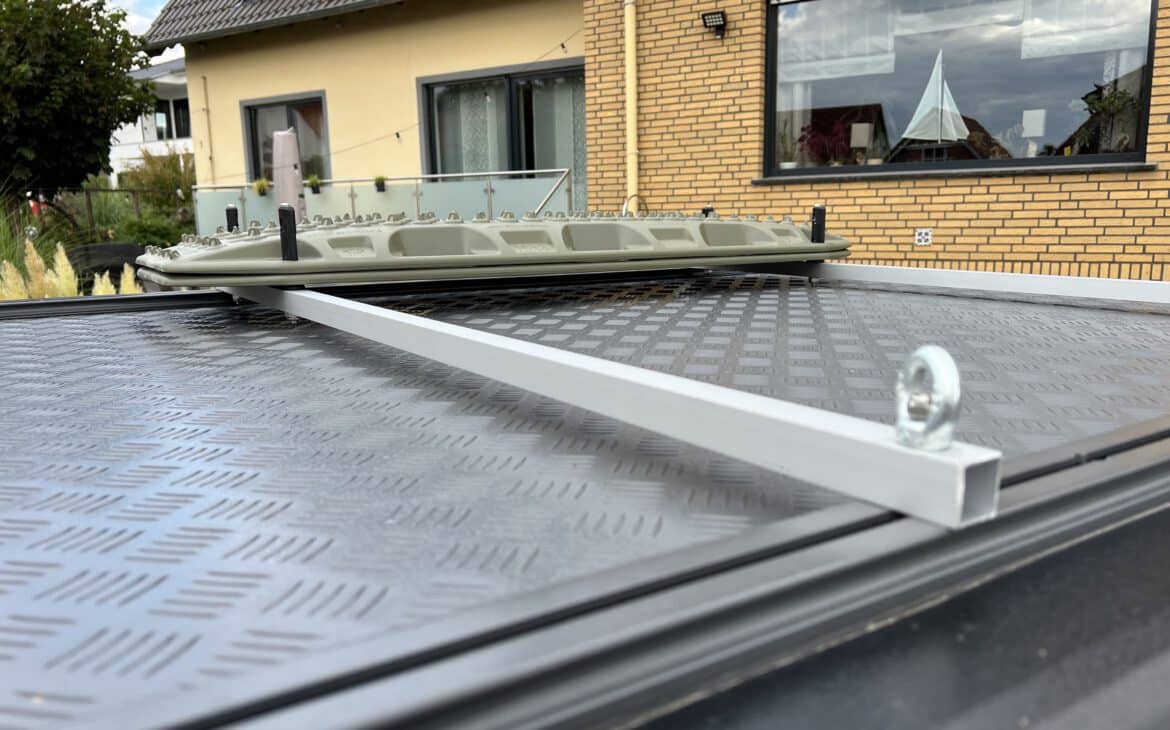
Now you can temporarily mount the two beams on the tent at right angles to the roof rails. With a M8 ring nut * you can easily tighten both cross beams so that you can loosen them again later.
At this point we grab a Maxtrax recovery board and place it where we wanted to attach the boards later. I chose the right rear corner of our roof tent because the wind resistance is lowest here and the recovery board is conveniently accessible via the tent ladder.
Move the temporarily mounted cross bars so that they are centered under the four large round cutouts of the recovery boards. Mark these positions exactly in the center of the square tubes with a pencil. Before you do this, make sure that the cross beams are really at right angles to the rails. You can then remove the cross members again for the time being.
Now we drill holes on both sides of the marked areas again, but this time with a 10 mm drill bit. We now insert the Maxtax salvage pins through these holes and initially tighten the nuts provided by hand.
Attention: On the front crossmember, the thin side of the mounting pins points to the front, on the rear crossmember it points to the back. Only when you have checked this will you finally tighten the nuts of the retaining pins.
Now the crossbars with the attached mounting pins are put back on the roof. But we do not fix them yet. Before we do that, we put the recovery boards into the mounting pins. Position the cross beams in such a way that the boards fall smoothly into the pins and check again whether the cross beams are still at right angles to the rails. If this is the case, screw an M8 ring nut onto the M8 thread from above and thus fix the cross beams.
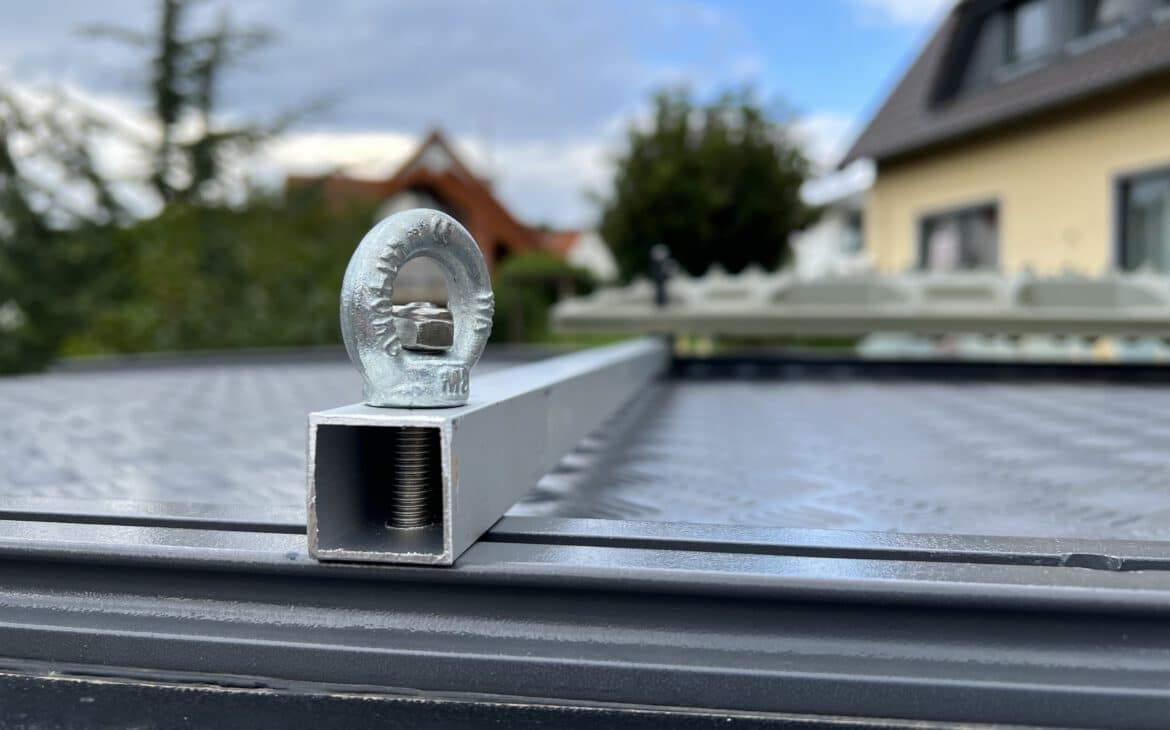
Why actually ring nuts * and not normal nuts? Both work. But the ring nut looks cooler and is also suitable later for lashing other luggage to the roof.
You will notice, however, that the simple thread of the ring nut is not exactly bombproof and can loosen again in case of vibrations. If you do not trust your ring nut, you can also turn a self-locking nut * over the thread, which then secures the ring nut.
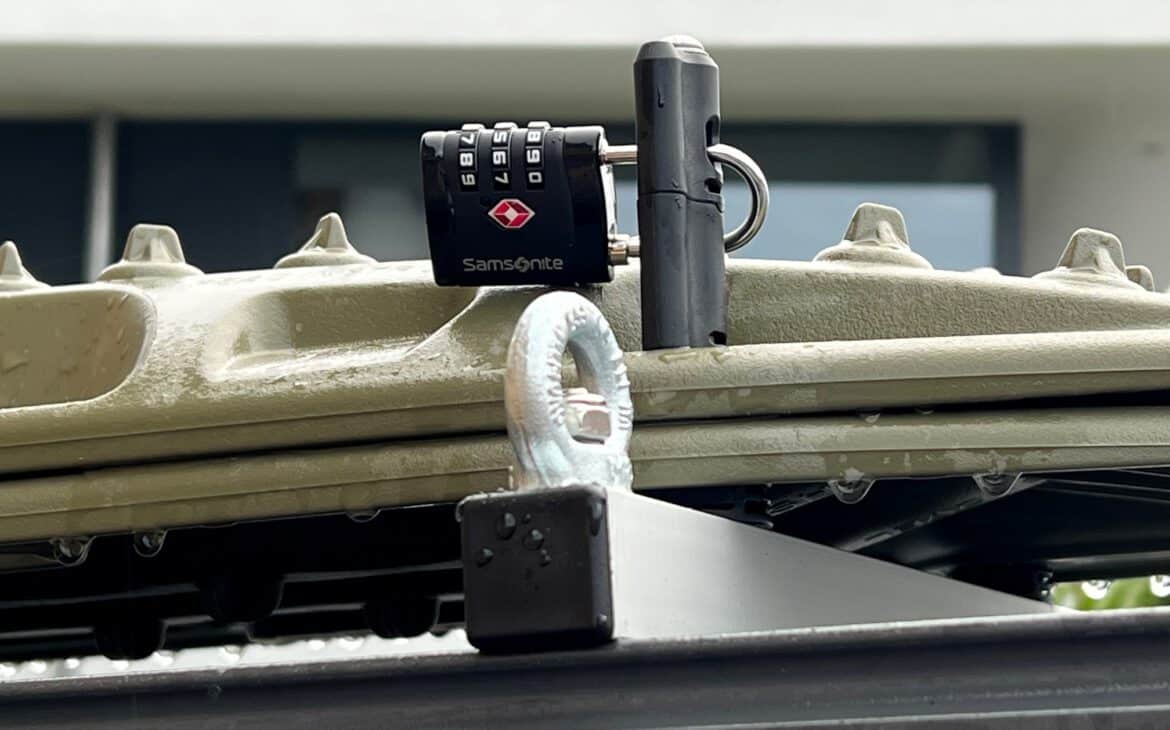
So that one cannot look into the square tubes at the sides, I bought four black lamella covers from plastic in the measure 25x25mm *. Looks like bought.
The mountings can now be easily secured with any standard TSA lock *.
* All links marked with an asterisk are Amazon affiliate links. We receive a percentage of purchases made through them. Nevertheless, our recommendations are honest and sincere.
